
Setting up an Exceed Keyboard
Your H&L Trainer will demonstrate how to add and configure an Exceed Point of Sale Keyboard. Using your completed keyboard design, follow the steps to begin programming your keyboard(s):
1. From the Sysnet Toolbar click on the Utilities Icon 
2. Click on the <KEYBOARDS> tab
3. Click (+) to add a new Keyboard
4. Enter an applicable KEYBOARD NAME e.g. Liquor Store, Restaurant, Front Bar
5. Select the LOCATION that this keyboard belongs to from the dropdown menu
6. Select the KEYBOARD TYPE as Exceed from the dropdown menu
7.Tick (✓) to save
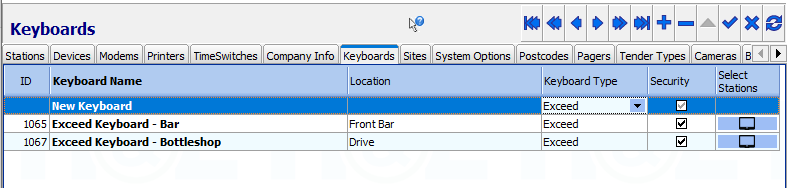
8. The KEYBOARD ID will be automatically generated upon saving the keyboard
9. Double click on the KEYBOARD NAME to open the keyboard
10. Configure the Menu Pages:
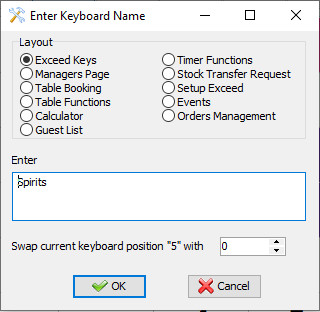
- Double click on the first menu page to allow editing
- Choose the type or “Layout” of the menu page
- Type the Page name in the “Enter” Field
- Click <OK> to Save
- Repeat for all other Menu Pages
11. Configure the keys:
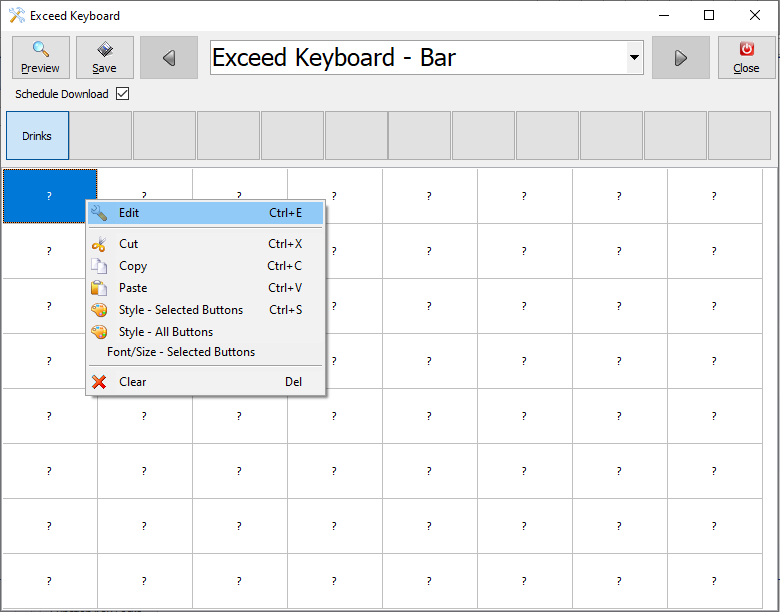
- Right click on a key to display a task menu
- Click on <EDIT>
- A window will appear to allow configuration of the key
- Select the type of key required from the buttons at the top of the window
- Enter the PLU or PLU Group number in the relevant fields or click on the
 button to search for the item
 Note: Automatic Caption Field. Handy for specials where the POS description changes but the PLU stays the same.
- Enter a description of the key in the CAPTION field. If the description is wider than the key, you will need to delete the relevant “space” between word(s) and insert an Enter to wrap the text to the next line
Note: Once a style, font, and font size is selected, keep this theme consistent for all keys to ensure a smarter looking keyboard.
- Choose a FONT, BACKGROUND COLOUR, FONT COLOUR, FONT SIZE and STYLE OF KEY to customise the presentation of the key
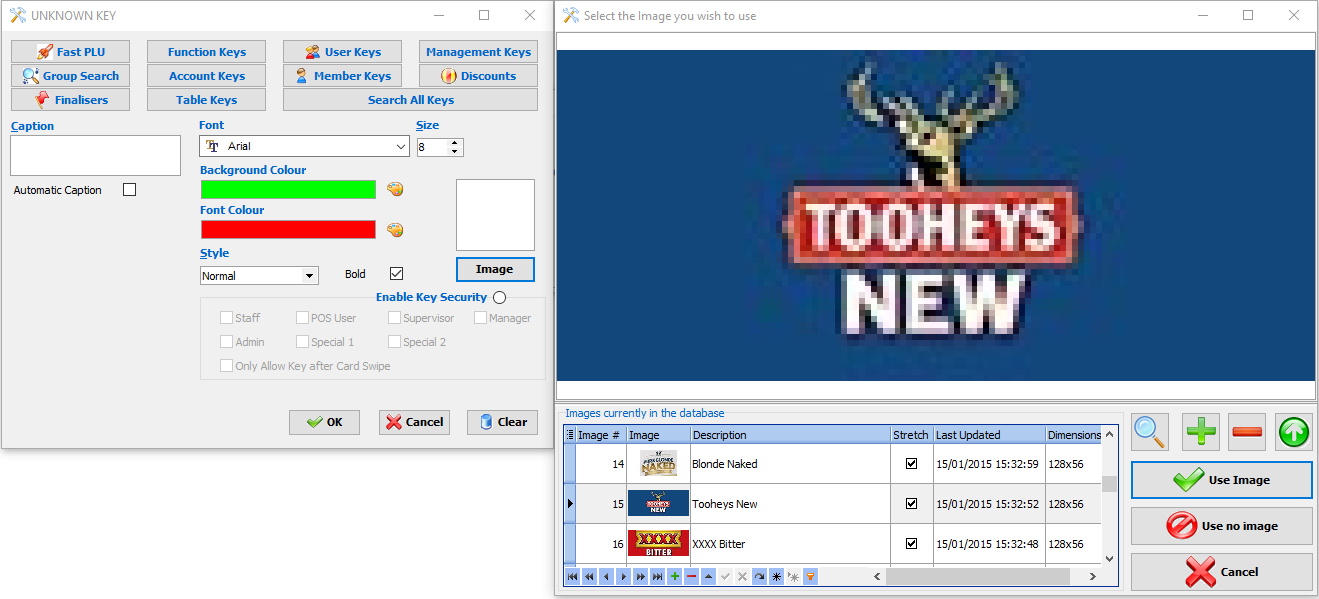
- To attach a photo or logo of a certain product to a key click on the IMAGE button. Click (+) and browse for the correct photo
-
 Note: The best size for images on keys (using 1024 x 768 Resolution) are as follows:
 - Single key = 64 x 56 pixels
- Two blended vertical keys = 64 x 112 pixels
- Two blended horizontal keys = 128 x 56 pixels
- Four blended keys = 128 x 112 pixels
- Select the image and click on <USE IMAGE>
- Press <OK> to finalise
- Enable KEY SECURITY if required
- Click <OK> to finalise the key configuration
- Repeat with all remaining keys to be configured
- When all changes have been made to the keyboard, press <SAVE>
- Click on the <PREVIEW> button at any time to see how the keyboard will appear at point of sale
Note: Neighbouring keys with the same details (key type, PLU Number & PLU Group Number) will “blend” to create a larger key. It is possible to highlight the blended key, right click and select a colour, font and style theme in one step by selecting “Style - Selected Buttons”. Cut, copy and paste functions can be used to move or copy details between keys and between each keyboard layout. Right click with the mouse to view the task menu options.
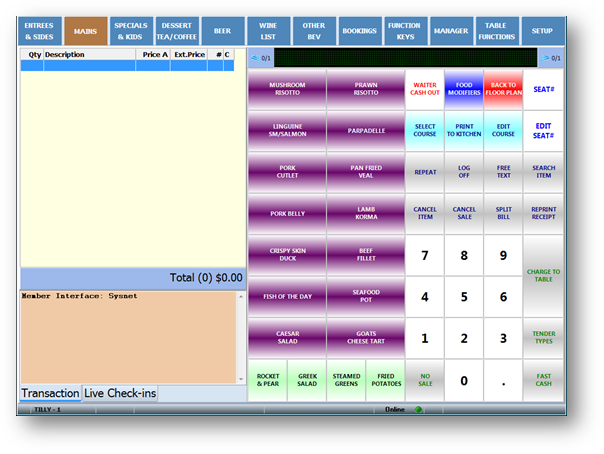
SAMPLE EXCEED KEYBOARD - RESTAURANT
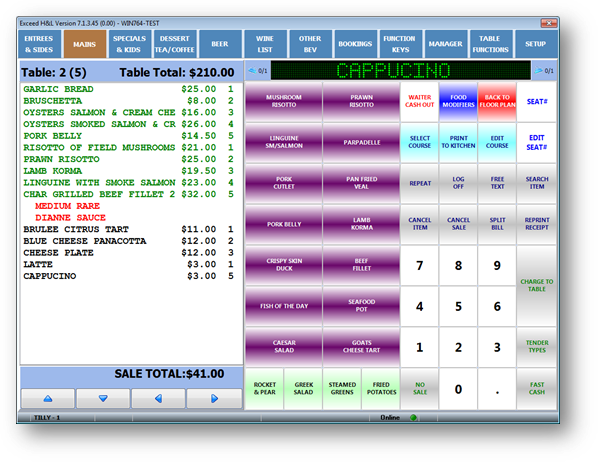
SAMPLE EXCEED KEYBOARD - RESTAURANT (With "View Complete Table History" Enabled)
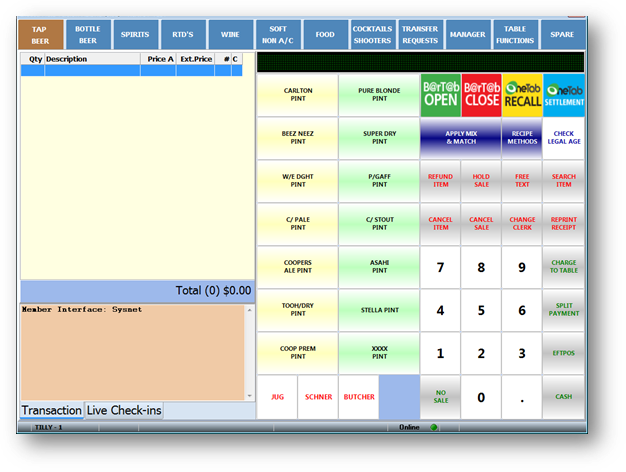
SAMPLE EXCEED KEYBOARD - BAR
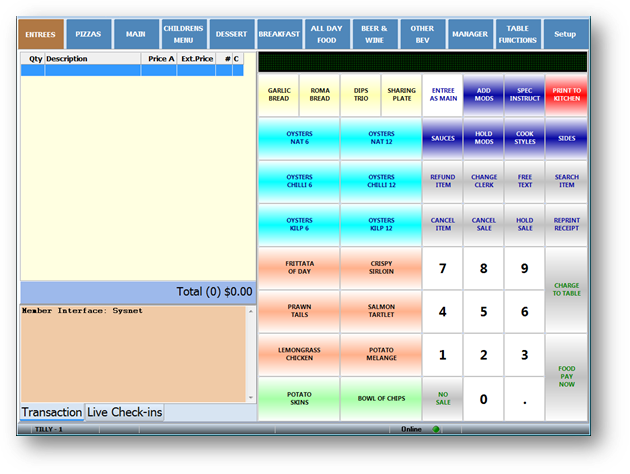
SAMPLE EXCEED KEYBOARD - BISTRO
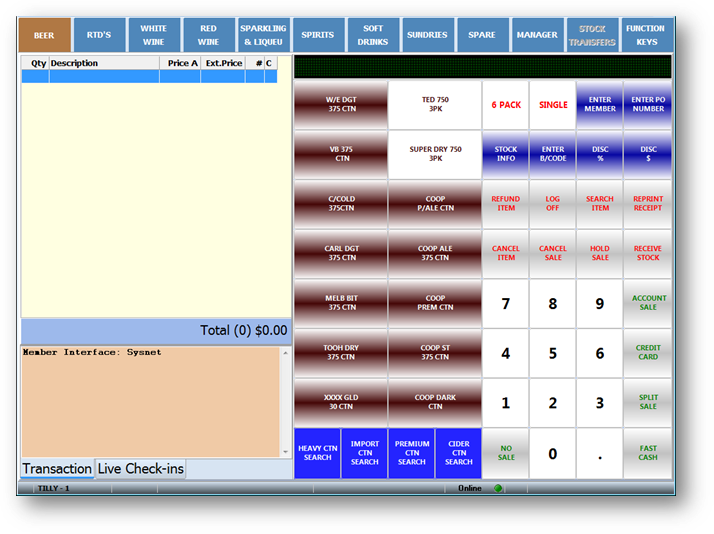
SAMPLE EXCEED KEYBOARD - BOTTLESHOP / LIQUOR STORE
Comments
0 comments
Please sign in to leave a comment.